News Flash: You are going to need a very large bowl to mix this
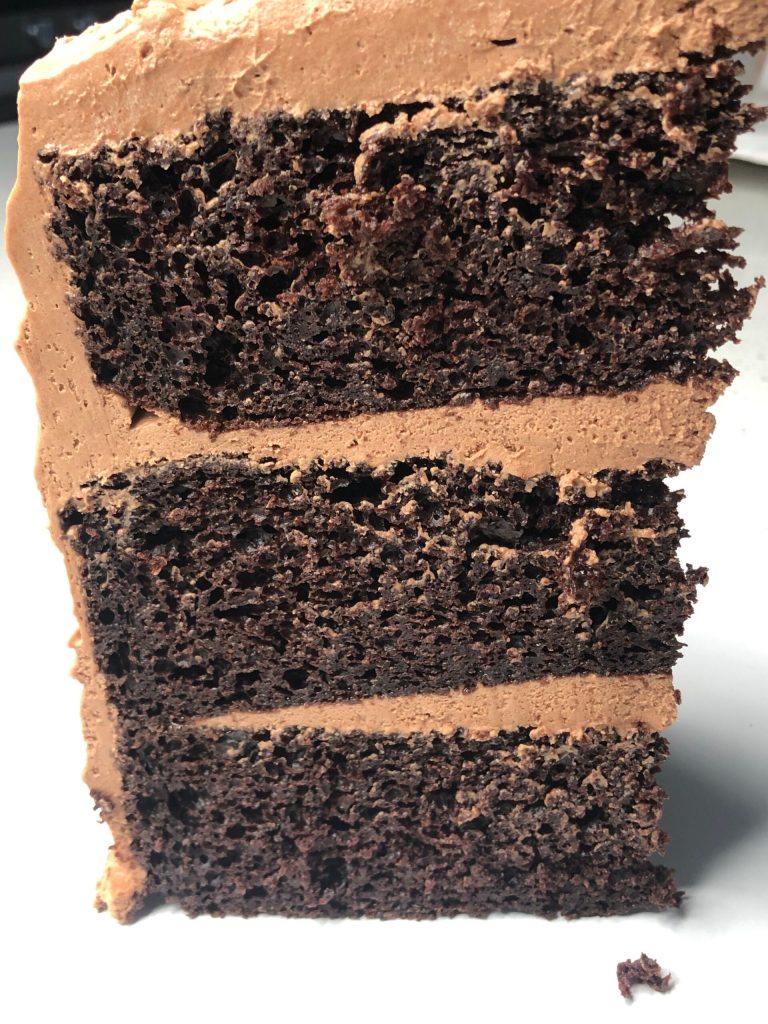
If you’ve seen Matilda, you are like me. My favorite part of the movie is when Ms. Trunchbull, makes Bruce come on stage and eat a huge chocolate cake. You have Bruce struggling to eat this cake when his classmates in the seat are determined to see him succeed. They all begin to cheer him on! You can do it, Bruce! And the chanting gets louder Bruce! Bruce! Bruce! I mean that cake looks like it will feed 100 people or more. Although it kind of looks like the lunch lady made the cake. The chocolate cake looks amazingly moist. You have this huge chocolate cake, with this super dark chocolate icing layer upon layer (News flash, this cake icing is super dark in color, but very chocolatey). Bruce must eat it all, well because Ms. Trunchbull said he need to eat the whole cake before leaving the stage. Spoiler Alert: Bruce devourers the cake. I call this recipe “Better than Matilda Chocolate Cake”, only because the chocolate icing isn’t as dark as it was in the film. But believe me. It is not lacking and chocolate flavor. This cake will be for chocolate lovers all around.
Now, I’m not saying you will eat this whole cake, but I am saying everyone else will.
This cake is easy to make and easy to serve a crowd on any given day.
Because this “Better than Matilda Chocolate Cake” is huge you will need at least a 12-inch cake pan, cake boards or flexible cake dome, cooling racks at least 2 (3 even better), a large bowl to mix cake and icing, and clutter-free space in your fridge to work. I also use a hand mixer; this will be too much batter for a standard 5-quart bowl.
Now that you have all your supplies laid out, preset your over to 325. Grease your cake pans and dust them with flour and set them aside.
Let’s Make this Better Than Matilda Chocolate Cake
Start with your vegetable oil. Next, add all your dry ingredients. Then add your milk and the eggs. Stir and/or mix your batter you may have a few lumps. Mix as much as you can.
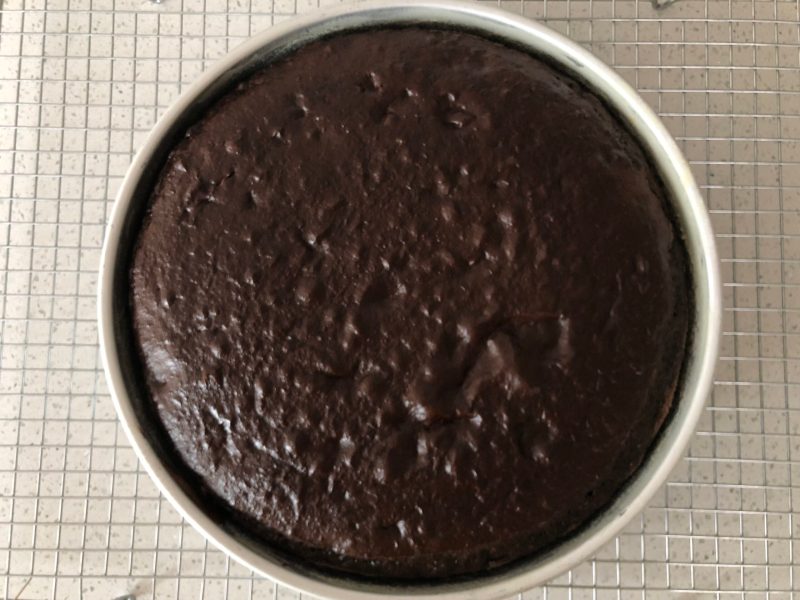
Pour cake batter into your pan about ½ full, and bake on the center rack for about 45 minutes or until done.
Once your 1st cake pan is cooked, cool it on the cake rack while still in the pan for about 10 minutes. After 10 minutes.
It’s time to remove the cake from the pan. Take the cake pan off the cooling rack and lay a piece of parchment paper on top of the cake. Next, flip over the cooling rack onto the top of the parchment paper and cake.
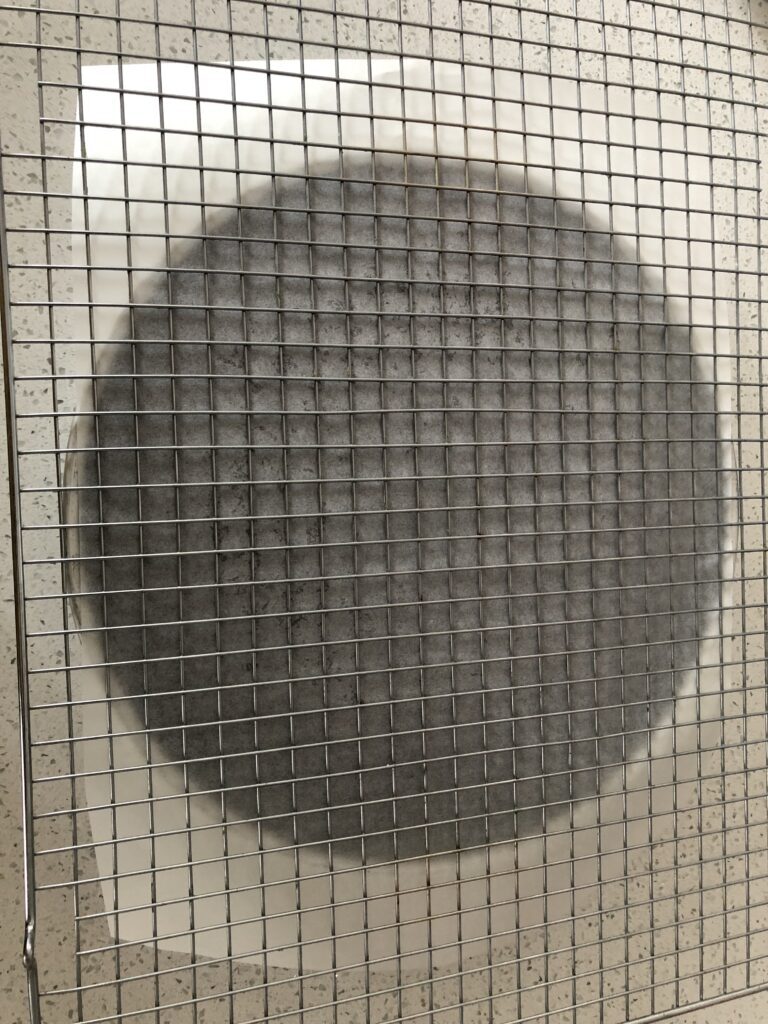
Now, it’s time to flip the cake and you want it to be quick. Flip the cake out onto the cooling rack and let the cake cool at least for 45 minutes or until the next cake layer is ready to cool. Repeat this process until all cake layers are cooled.
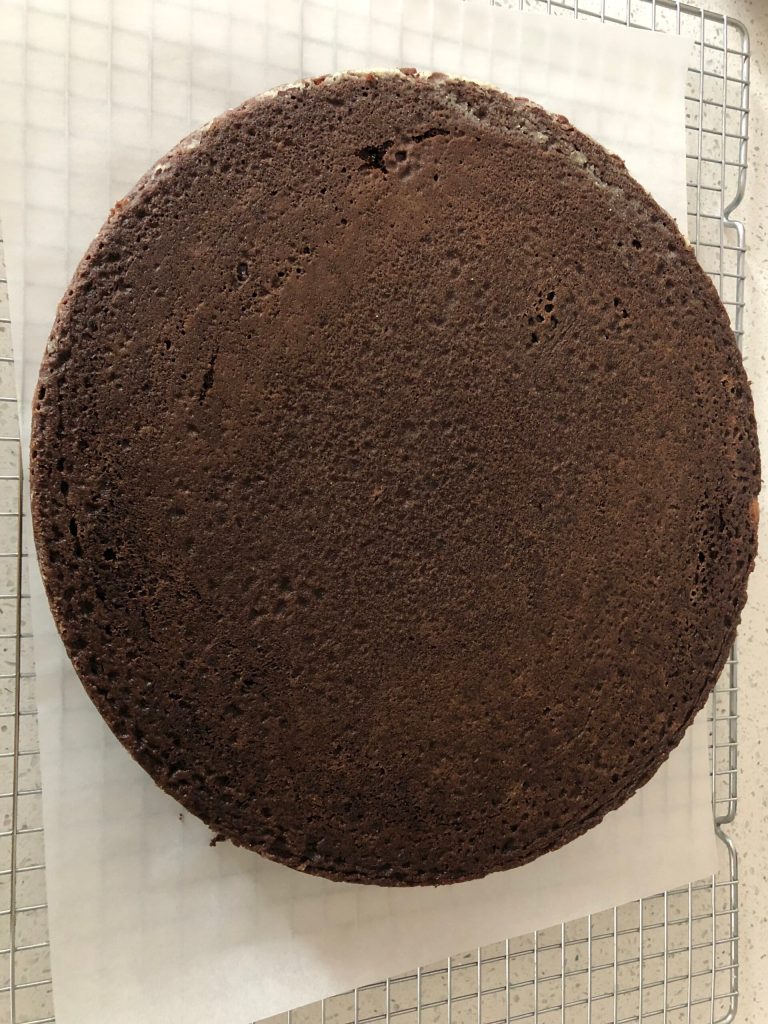
Now, once all layers are cooled, put them in the freezer (you will want to put each cake on a separate cake board, then put them in the freezer) while you are making your icing for the cake. This will make sure your cake doesn’t fall apart while icing them.
Let’s make the Icing
You want your cream cheese and butter softened. (I wasn’t able to get the icing super dark in color. But you can always use store-bought dark icing, it will just be pretty expensive for about 15 cans)
Mix your softened cream cheese and butter together using your mixer on medium speed. Make sure your butter and cream cheese is softened or you will have lumps in your icing.
Add your vanilla and chocolate, I use bittersweet chocolate. Next, in a separate bowl mix together 1 cup of cocoa powder with ½ cup of hot water. Next, add your powder sugar, then your cool whip. Taste it! What do you think?
The Hershey syrup – Now I usually don’t do this on my other cake recipes but, I wanted chocolate on top of chocolate taste. So, I will use ¾ cup of Hershey syrup mix with 1 tablespoon of water, set aside.
Tip: When icing the edges of your cake, pour ½ of the remaining icing on top of the cake, and using your knife (that’s what I used) move some icing onto the edges and let it fall down on the sides while smoothing it out with your knife. Repeat until done.
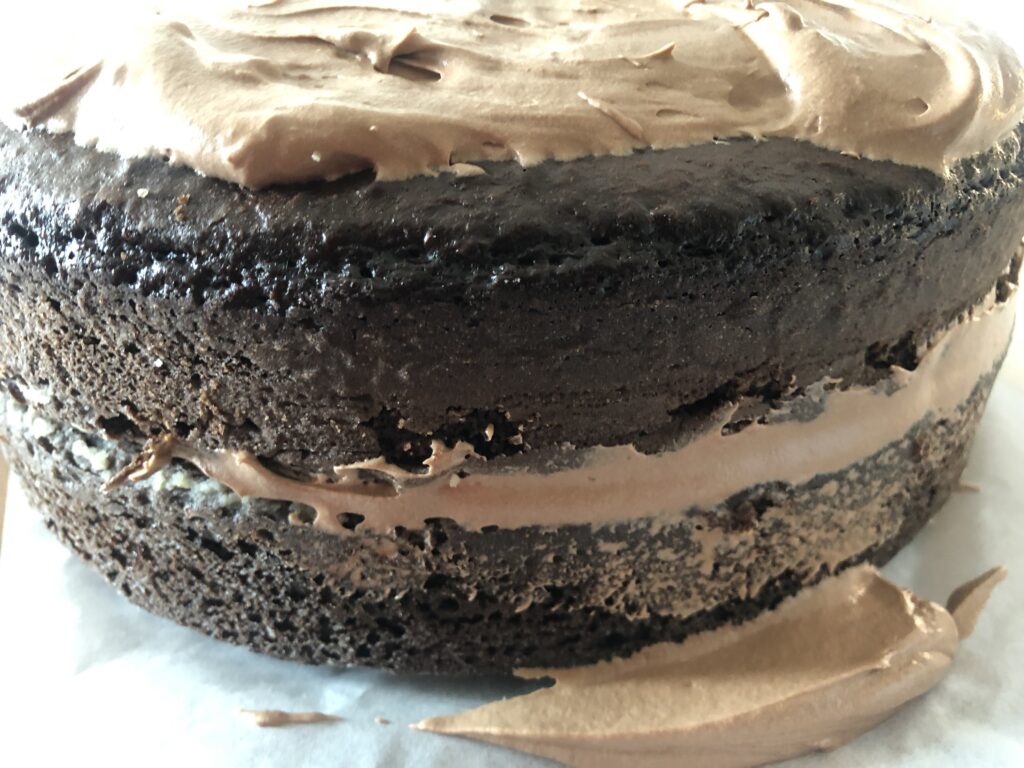
Let’s Assemble – Take out 1 cake board and put a tablespoon of icing directly on the cake board. Next, take a cake out of the freezer and place it on the cake board. Take the Hershey syrup and apply a layer of Hershey syrup on top of the cake layer. Let it sit on the cake for about 5 minutes. Then add some icing. Repeat this process until you add the last top layer. Once you add the last top layer. Add your bubble straws for support (If your cake is 8 inches high, you will want to cut the straws just under 8 inches). Place the straws in the center about 2 inches apart but in a circle. Place in the refrigerator for about 30 minutes This will help the cake stability when icing. Next, go ahead and add the remaining icing around the whole cake, have fun with it. It doesn’t have to be perfectly smooth. Brucee’s wasn’t.
Once this cake is complete with icing store it in the refrigerator until completely cooled. Your fans, I mean the crowd will thank you. This “Better than Matilda Chocolate cake” will feed 35-50 people for under $75 bucks.

This cake feeds a crowd of 35-50 people.
Bake each layer at 325 for 45 minutes until done.